Overview of Chicken Tenders and Mashed Potatoes
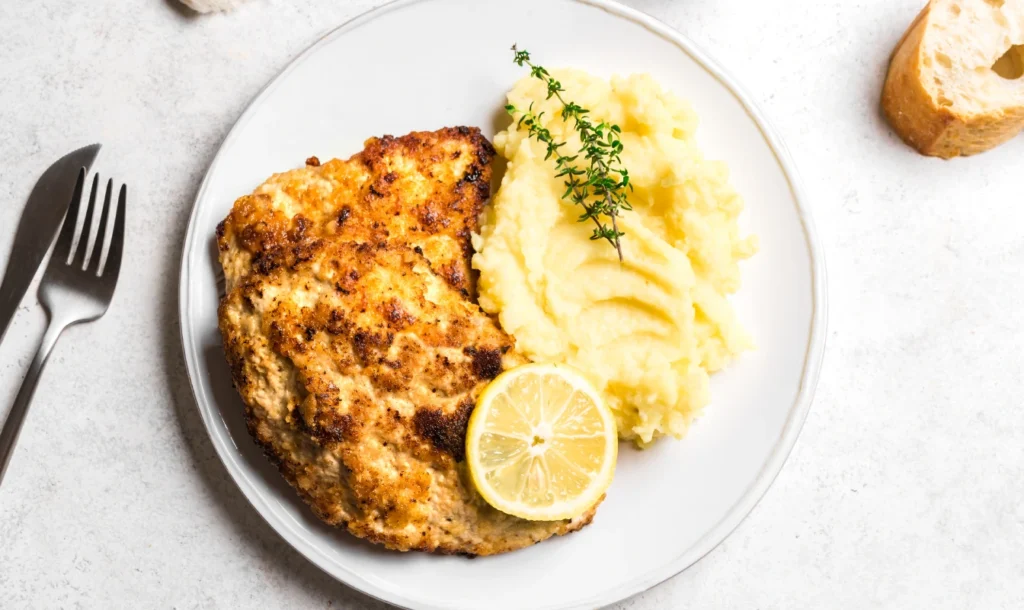
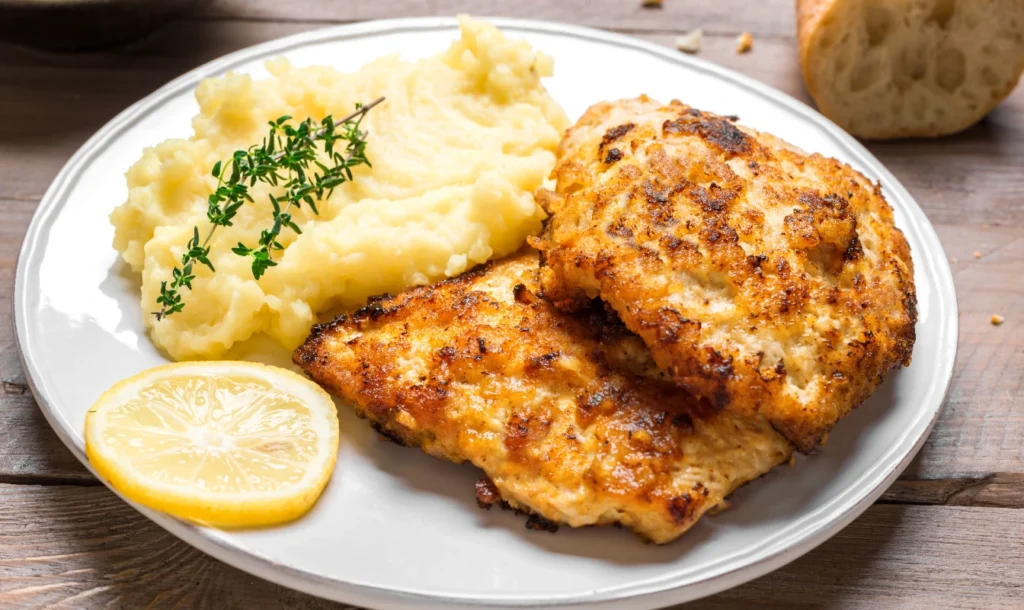
In the realm of comfort food, few dishes evoke as much nostalgia as chicken tenders paired with creamy mashed potatoes. These two culinary powerhouses, often found on family dinner tables or enjoyed during cozy evenings, offer a delightful combination that tantalizes the taste buds. Chicken tenders are succulent strips of chicken, typically breaded and fried or baked until golden brown. Their crispy exterior provides a satisfying crunch, while the tender meat inside guarantees each bite is juicy and flavorful. Matched with buttery, fluffy mashed potatoes, this duo creates a perfect balance of textures and flavors—crunchiness meets creaminess. When it comes to preparation, there’s a myriad of ways to elevate these dishes. From various marinades for the chicken to personalized seasoning blends for the potatoes, the possibilities are endless.
Why Mastering This Homestyle Classic is Essential
Understanding how to prepare chicken tenders and mashed potatoes goes beyond simply serving a meal; it is about creating cherished memories.
- Culinary Skills Development: Mastering this classic combination helps develop essential cooking techniques such as frying or baking, as well as mashing and seasoning.
- Family Bonding: The experience is often a shared event—it can become a tradition where family members gather in the kitchen, cooking together while laughing and reminiscing.
- Impressing Guests: When hosting friends or family, serving this classic dish can easily impress and delight any crowd.
Embracing these recipes means embracing a piece of comfort that many people hold dear, reminding us of home, love, and togetherness.
Choosing the Right Ingredients
Selecting High-Quality Chicken Tenders
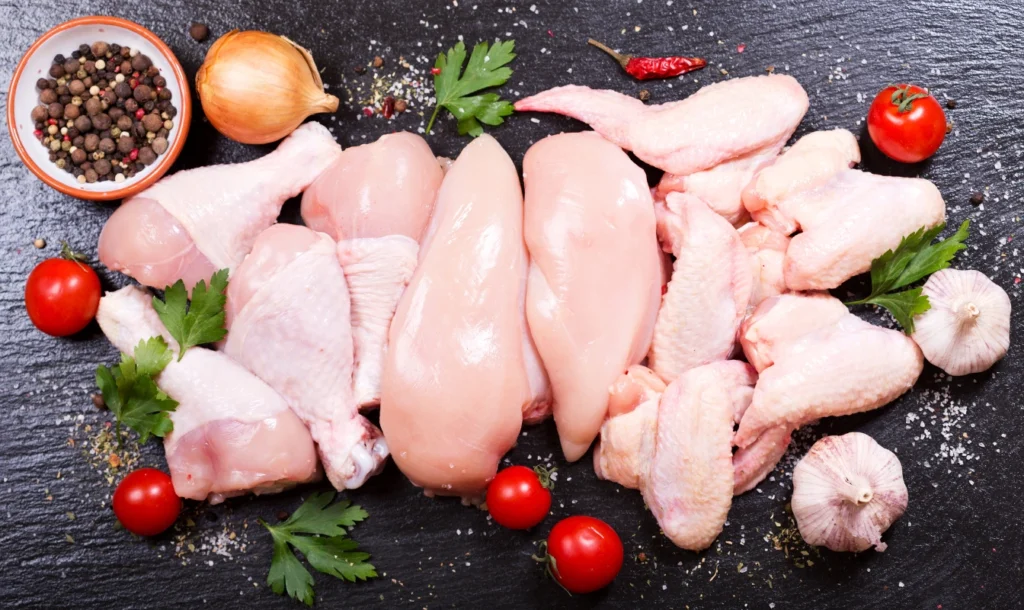
The journey to creating mouthwatering chicken tenders starts with selecting the right ingredients. When it comes to chicken, quality is paramount. Opt for fresh, high-quality chicken tenders over frozen options. Fresh chicken not only tastes better but also has a more appealing texture. Here are a few tips for choosing the best chicken tenders:
- Look for Color: Fresh chicken should have a pink hue with minimal discoloration. Avoid any chicken that appears dull or has an off odor.
- Check the Packaging: If purchasing pre-packaged chicken, check for a sell-by date and inspect the packaging for any tears or leaks.
- Organic or Free-Range: Consider buying organic or free-range options for a healthier and more flavorful product. These chickens are often raised in better conditions and fed a natural diet, which can enhance taste.
Picking the Perfect Potatoes for Mashed Potatoes
Just as crucial as the chicken are the potatoes. The ideal potato for making creamy, dreamy mashed potatoes is the Russet or Yukon Gold variety. Each has unique characteristics that contribute to the final dish:
- Russet Potatoes: Known for their starchy quality, they create the fluffiest mashed potatoes. Their dry, fluffy texture allows for excellent absorbency of butter and cream.
- Yukon Gold Potatoes: These potatoes are slightly waxy with a buttery flavor. They hold their shape well and result in a rich, creamy mash.
When selecting potatoes, look for firm, unblemished skins. Avoid any with green spots or sprouting eyes, as these can affect both taste and texture. The extra care in choosing your ingredients will elevate your chicken tenders and mashed potatoes from ordinary to extraordinary!
Preparing Chicken Tenders
Brining for Juiciness
Once the right ingredients are in hand, the next step is preparing the chicken tenders for cooking. One of the best techniques to ensure juicy, flavorful meat is brining. Brining involves soaking the chicken in a saltwater solution, which enhances moisture retention during cooking. Here’s a simple brining method that anyone can follow:
| Ingredient | Quantity | Notes |
|---|---|---|
| Water | 4 cups | For brining the chicken tenders |
| Salt | ¼ cup | Enhances flavor and tenderizes the chicken |
| Sugar (optional) | 2 tablespoons | Adds a subtle sweetness (optional) |
| Thyme or Rosemary | A few sprigs (optional) | For aromatic flavor (optional) |
To prepare, dissolve the salt (and sugar, if using) in warm water. Submerge the chicken tenders in the solution, ensuring they are fully covered. Allow them to brine for at least 30 minutes but no longer than 4 hours in the refrigerator. Brining transforms chicken from ordinary to extraordinary, providing that tender, juicy bite we all crave.
Seasoning and Coating Techniques
After the tenders are brined, they’re ready for seasoning and coating. The fun part is making them uniquely yours! Start by patting the chicken dry with paper towels.
| Seasoning Category | Options | Flavor Profile |
|---|---|---|
| Classic Approach | Salt and pepper | Simple and enhances natural flavors |
| Spicy Kick | Garlic powder, onion powder, paprika | Adds depth and a bit of spice |
| Aromatic Touch | Fresh herbs like parsley, thyme, or basil | Brings freshness and an herbaceous note |
Next comes the coating. A traditional method is to use a three-step system known as
the “breading station”:
| Step | Action | Notes |
|---|---|---|
| Step 1 | Dredge in seasoned flour | Creates a base layer for adhesion |
| Step 2 | Dip in beaten eggs | Ensures a rich layer for breadcrumbs to stick |
| Step 3 | Coat in breadcrumbs (e.g., Panko) | Adds a crispy and crunchy texture |
This method not only adds flavor but also ensures that each bite of your chicken tenders offers a satisfying crunch. Choosing the right brining, seasoning, and coating techniques can truly make all the difference in your chicken tender experience!

Cooking Chicken Tenders
Frying: The Crispy Approach
Now that the chicken tenders have been brined and coated to perfection, it’s time to cook them! One of the most popular methods—especially for achieving that golden, crispy exterior—is frying. Frying is a surefire way to give your chicken tenders an unbeatable crunch. Here’s how to fry chicken tenders like a pro:
- Heat the Oil: In a deep skillet or Dutch oven, pour enough vegetable or canola oil to submerge the chicken tenders, usually about 2-3 inches deep. Heat the oil to around 350°F (175°C), which you can check with a thermometer or by dropping a small piece of bread in—if it sizzles immediately, you’re good to go!
- Fry in Batches: Carefully lower the tenders into the hot oil, making sure not to overcrowd the pan. Fry for about 3-4 minutes per side or until they’re golden brown and cooked through.
- Drain Excess Oil: Use tongs to remove the chicken tenders when they’re done. Place them on a paper towel-lined plate to absorb any excess oil.
Every time my family enjoys fried chicken tenders, they rave about that satisfying crunch of the coating, which is hard to beat!
Baking: A Healthier Alternative
If frying isn’t on your radar, don’t fret! Baking chicken tenders can be just as delicious while offering a healthier twist. To bake chicken tenders, simply preheat the oven to 425°F (220°C) and follow these steps:
- Prepare a Baking Sheet: Line a baking sheet with parchment paper or spray it lightly with cooking spray to prevent sticking.
- Arrange Tenders: Place the coated chicken tenders on the sheet, ensuring they are not touching. For an extra crispy finish, you can lightly spray the tops of the tenders with cooking spray.
- Bake: Bake for about 20-25 minutes, turning the tenders halfway through to ensure even cooking. You’ll know they’re done when they’re golden brown and have reached an internal temperature of 165°F (75°C).
Both frying and baking offer distinct advantages, making either method perfect based on personal preference or dietary needs. Whether you choose the crispy allure of frying or the healthier virtue of baking, either way, you’re destined to enjoy a delightful meal!
Making Perfect Mashed Potatoes
Boiling and Draining Potatoes
After expertly cooking those chicken tenders, it’s time to turn our attention to creating the perfect sidekick: mashed potatoes. The journey begins with boiling and draining the right type of potatoes. Selecting the ideal potatoes, as mentioned earlier, is key to achieving that dreamy texture. Begin by preparing your potatoes:
- Peel and Chop: For Russet or Yukon Gold potatoes, peel the skins to enhance that creamy consistency. Cut them into uniform chunks, about 1-2 inches in size, to ensure even cooking.
- Boil in Salted Water: Place the potato chunks in a large pot of cold, salted water. Bringing the water to a boil will help to season the potatoes from the inside. Once boiling, reduce the heat and let them simmer for about 15-20 minutes or until fork-tender.
- Drain and Dry: Drain the potatoes in a colander and let them sit for a few minutes to evaporate any excess moisture. This steaming step is crucial for avoiding watery mashed potatoes.
Drawing from personal experience, I always find that the fragrance of boiling potatoes wafting through the kitchen is more than just a pleasant aroma; it’s a reminder of family dinners and warm embraces.
Mashing Techniques and Additions
Now, onto the fun part—mashing! The method you choose can significantly impact the final texture:
- Fork or Potato Masher: For a more rustic, chunky mash, a fork or potato masher works well.
- Ricer or Food Mill: For that ultra-smooth, fluffy feel, consider using a potato ricer or food mill. This extra tool can elevate your mashed potatoes to a new level of luxury.
Once you’ve achieved your desired texture, it’s time to mix in the delicious additions:
- Butter: Adds richness and a velvety texture. Start with about ½ cup of unsalted butter.
- Cream or Milk: For creaminess, add warm heavy cream or milk slowly until you reach your desired consistency.
- Seasonings: Don’t forget to season with salt and pepper, and feel free to incorporate garlic powder, chives, or even cheese for an additional flavor kick!
Creating perfect mashed potatoes is both an art and a science, and with these methods, you’ll ensure a delightful side that complements your crispy chicken tenders beautifully!
Pairing and Serving
Complementing Flavors with Sauces
As the chicken tenders and fluffy mashed potatoes come together on the plate, it’s time to elevate your dish further with some delightful sauces. The right sauce can enhance flavors and add a new dimension to each bite! Here are some popular sauce options that pair perfectly:
- Classic Honey Mustard: A delightful blend of sweetness and tanginess, this sauce complements the juicy chicken tenders beautifully. Just mix equal parts honey and Dijon mustard for an easy homemade version!
- Creamy Garlic Sauce: For those who love a rich, garlicky flavor, whipping up a simple garlic cream sauce with garlic, cream, and parmesan can take those chicken tenders to a new level.
- BBQ Sauce: If you’re a fan of smoky and sweet flavors, serve up your favorite BBQ sauce. Whether store-bought or homemade, it’s always a crowd-pleaser.
- Gravy: What’s more comforting than a generous ladle of rich, savory gravy over mashed potatoes? Adding a drizzle can tie the whole plate together.
Each of these sauces can be served on the side for dipping or drizzled over the tenders, allowing guests or family members to choose their flavor adventure!
Plating for Presentation
Once the flavors are sorted, it’s time to think about presentation. A beautifully arranged plate elevates the dining experience and showcases your delicious creations. Here are some tips for plating:
- Use White Plates: A simple white plate lets the vibrant colors of your dish pop. Plus, it screams elegance!
- Layering: Start by placing a generous scoop of mashed potatoes at one side of the plate, creating a nice base. Add a few chicken tenders alongside for a visually appealing spread.
- Garnish: Sprinkle some fresh herbs—like parsley or chives—over the top for a burst of color and freshness. You can also add a lemon wedge for a zesty touch.
- Sauce Art: If you’re feeling artistic, drizzle sauce around the plate or create a small pool on one side next to the chicken tenders for a chef-like finish!
By combining flavorful sauces with thoughtful plating, you’re all set for a delightful meal experience that’s not just about taste but also visual appeal. Your family and friends will be reaching for seconds in no time!

Tips for Success
Timing is Key
When cooking a meal as beloved as chicken tenders and mashed potatoes, timing is everything. Balancing the cooking time for both the chicken and the potatoes ensures that everything is hot and ready to serve together. Here are some timing tips to keep in mind:
- Prep First: Begin by preparing your potatoes. While they are boiling, you can brine and coat your chicken tenders. This synchronous approach keeps your kitchen efficient and minimizes downtime.
- Cook the Chicken Last: Since chicken tenders cook relatively quickly, aim to fry or bake them just before serving. This way, they’ll be piping hot and ready to enjoy, while your mashed potatoes will stay warm, too.
- Rest Time: Remember to let your chicken tenders rest for a few minutes after cooking. This rest time allows the juices to redistribute, resulting in a juicier bite.
From personal experience, there’s nothing worse than letting one dish cool down while waiting for another to finish cooking. Timing is your secret weapon in keeping everything at the perfect temperature!
Troubleshooting Common Issues
Even the best cooks can run into challenges. Being prepared to troubleshoot can make a world of difference. Here are some common issues and quick fixes:
- Watery Mashed Potatoes: If your mashed potatoes turn out too watery, it may be due to overcooking or excess moisture when draining. Next time, try reducing the boil time or allowing more steam to escape after draining.
- Chicken Tenders Not Crispy: If the tenders lack that coveted crunch, ensure your oil is sufficiently hot before frying. If baking, try leaving them in for a few extra minutes and spritzing with a bit of cooking spray.
- Bland Flavors: If your dishes taste bland, don’t be shy about seasoning! A little extra salt, pepper, or even herbs can make a big impact. Taste as you go, and adjust when necessary.
By keeping these tips in mind and knowing how to address common hiccups, you’re well on your way to serving a flawless chicken tender and mashed potato dish every time! Your cooking confidence will surely soar.
FAQs for Chicken Tenders and Mashed Potatoes
1. Can I make chicken tenders ahead of time?
Yes, you can prepare and coat the chicken tenders ahead of time. Store them in the fridge for up to 24 hours before frying or baking. However, for the best texture, cook them fresh just before serving.
2. How can I make the mashed potatoes creamier?
To achieve creamier mashed potatoes, use warm cream or milk when mashing. Adding a generous amount of butter and using a potato ricer or food mill can also enhance the smoothness.
3. What’s the best way to reheat chicken tenders?
Reheat chicken tenders in an oven or air fryer at 375°F (190°C) for about 5-7 minutes to maintain their crispiness. Avoid microwaving, as it can make them soggy.
4. Can I use sweet potatoes instead of regular potatoes?
Absolutely. Sweet potatoes are a great alternative. Follow the same boiling and mashing steps, and consider adding cinnamon or nutmeg for a flavorful twist.
Conclusion
Recap of Cooking Chicken Tenders and Mashed Potatoes
As we wrap up our culinary journey with chicken tenders and mashed potatoes, it’s essential to reflect on the steps that lead to this delicious homestyle meal. We started by choosing high-quality ingredients, ensuring the chicken was juicy through brining, and mastering the techniques of seasoning and coating.
- Cooking Techniques: Whether opting for the crispy allure of frying or the healthier alternative of baking, both methods yield delectable results.
- Perfect Mashed Potatoes: We learned the importance of boiling and properly draining the potatoes, followed by the mashing techniques and flavorful additions that turn simple ingredients into something extraordinary.
Along the way, we also discussed how thoughtful pairing with sauces and striking plating can enhance your dining experience, elevating the meal from ordinary to unforgettable.
Enjoying Your Delicious Homestyle Meal
Now that the preparation stage is complete, it’s time to savor the fruits of your labor! Set the table, gather your loved ones, and take a moment to appreciate the delicious meal you have created together. Food has an incredible way of bringing people together, and there’s something deeply satisfying about sharing a homemade meal. Reflecting on personal experiences, I remember nights full of laughter and joy around the dinner table, enjoying crispy chicken tenders and creamy mashed potatoes, where every bite told a story. As you dig into your tender chicken and fluffy mash, take pride in knowing you’ve not only prepared a delightful meal but also created a lasting memory. So, roll up your sleeves, dive in, and enjoy this beautiful creation that embodies comfort, warmth, and love.

