As summer fades and autumn arrives, a homemade cherry cheesecake is just what you need. This recipe, perfected over years, is perfect for any special event. It’s great for Thanksgiving or cozy holiday gatherings with family and friends.
This cheesecake is special because of its sweet and tart flavors. Its silky texture is a joy to eat. It’s the perfect treat for anyone who loves rich desserts or wants to impress their guests.
Key Takeaways
- Creamy, indulgent cherry cheesecake perfect for any occasion
- Harmonious balance of sweet and tart flavors
- Silky-smooth texture that melts in your mouth
- Easy-to-follow recipe with detailed instructions
- Versatile dessert that can be made ahead of time
Why This Cherry Cheesecake Will Become Your Favorite Dessert
Get ready for a sweet and tart treat that will wow your taste buds! Our best cherry cheesecake recipe is a mix of amazing flavors and textures. It’s perfect for any special occasion.
The Perfect Balance of Sweet and Tart
The secret to this amazing dessert is its perfect mix of sweet and tart. The creamy cheesecake texture pairs well with the fresh, fruity taste of cherries. This creates a flavor that you’ll want more of with every bite.
Silky-Smooth Texture That Melts in Your Mouth
This cheesecake is unlike any other. It’s silky-smooth and melt-in-your-mouth. The filling, made with cream cheese and sour cream, makes it tall and luxurious. It will take your dessert game to new levels.
This best cherry cheesecake is sure to become your go-to sweet and tart dessert. It’s guaranteed to impress your guests and satisfy your sweet tooth. Get ready to enjoy this incredible treat!

Essential Ingredients for Your Cherry Cheesecake Recipe
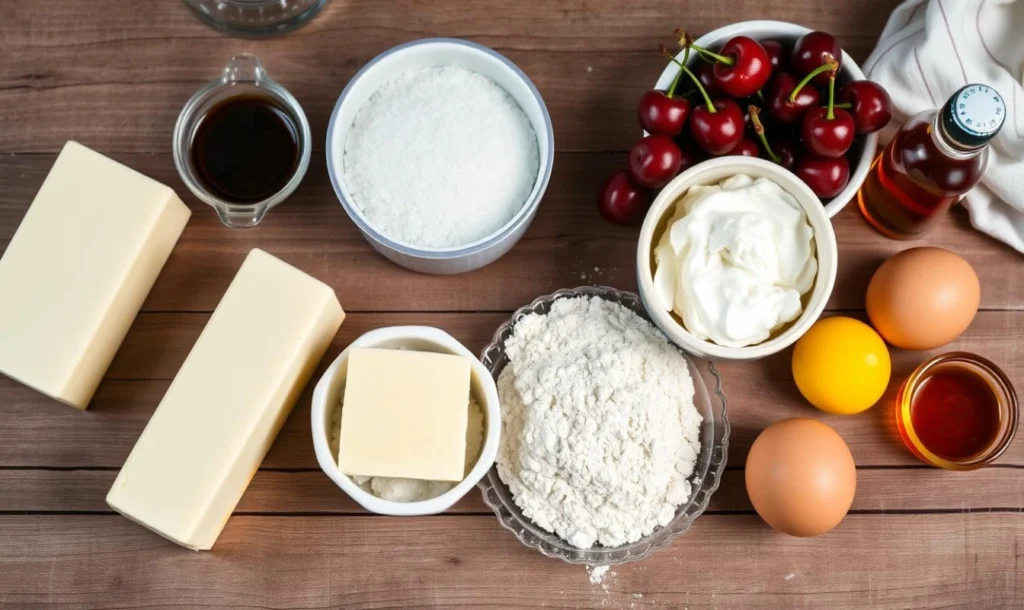
To make a perfect cherry cheesecake, you need the right ingredients. These ingredients come together to create a dessert full of flavors and textures.
Start with the graham cracker crust. You’ll need 1 1/2 cups of crumbs, 5 tablespoons of sugar, and 6 tablespoons of melted butter. For the cheesecake filling, use 4 cups of cream cheese, 1 cup of sour cream, 1 1/3 cups of sugar, 1 teaspoon of vanilla, and 4 large eggs.
For the topping, use 22 ounces of fresh or frozen cherries, 1 cup of sugar, 2 tablespoons of cornstarch, and a little water. You can also add heavy cream for a creamier texture.
| Ingredient | Quantity |
|---|---|
| Graham Cracker Crumbs | 1 1/2 cups |
| Sugar (for crust) | 5 tablespoons |
| Butter (for crust) | 6 tablespoons |
| Cream Cheese (for filling) | 4 cups |
| Sour Cream (for filling) | 1 cup |
| Sugar (for filling) | 1 1/3 cups |
| Vanilla Extract (for filling) | 1 teaspoon |
| Eggs (for filling) | 4 large |
| Cherries (for topping) | 22 oz |
| Sugar (for topping) | 1 cup |
| Cornstarch (for topping) | 2 tablespoons |
With these ingredients, you’re ready to make a cherry cheesecake that will wow your guests and satisfy your sweet tooth.

Making the Perfect Graham Cracker Crust
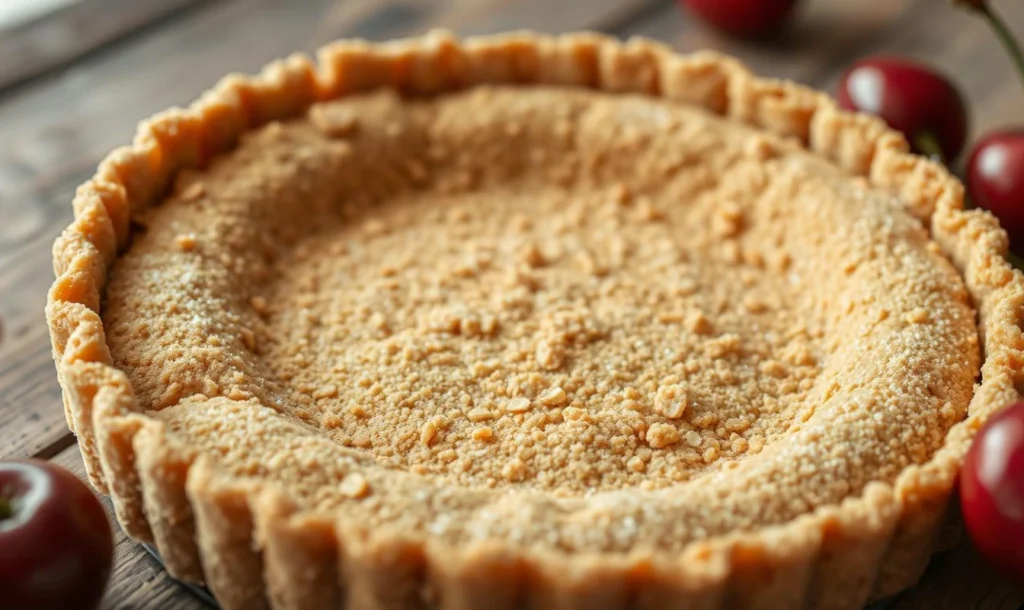
Creating the perfect graham cracker crust is key to a delicious cherry cheesecake. You’ll need a few basic ingredients: graham cracker crumbs, melted butter, sugar, and a bit of salt.
Proper Crust Preparation Techniques
Begin by mixing the graham cracker crumbs, melted butter, sugar, and salt in a bowl. Stir until it looks like wet sand and holds its shape. This makes the crust strong and cohesive.
Tips for Even Crust Distribution
- Use a flat-bottomed measuring cup to press the mixture into the springform pan. It makes the crust even and compact.
- Line the springform pan with foil to stop leaks. This keeps the crust clean and smooth.
- Bake the crust at 350°F for 8 to 10 minutes before adding the cheesecake. This step sets the crust and prevents it from getting soggy.
By using these simple steps, you’ll make a graham cracker crust that’s perfect for your cheesecake base. Now, you can move on to the next part of making your amazing cherry cheesecake.

Creating the Creamy Cheesecake Filling
Making the perfect cherry cheesecake begins with a creamy filling. You’ll need to mix softened cream cheese, eggs, sugar, sour cream, vanilla extract, and salt. Use a stand mixer or hand mixer on medium-high speed.
Keep mixing until the cheesecake filling is smooth and creamy. Don’t forget to scrape the bowl’s sides and bottom halfway. Then, slow down the mixer for 1 to 2 minutes to get rid of air bubbles.
After the smooth cheesecake batter is ready, pour it into the graham cracker crust. Gently tap the pan on the counter to get rid of air bubbles. This makes the cheesecake dense and velvety, making it hard to resist.
| Ingredient | Amount |
|---|---|
| Cream Cheese | 24 ounces |
| Eggs | 4 large |
| Sugar | 3/4 cup |
| Sour Cream | 1/2 cup |
| Vanilla Extract | 1 teaspoon |
| Salt | 1/4 teaspoon |
“The key to a silky-smooth cheesecake filling is in the technique. Properly mixing the ingredients and removing air bubbles are essential for that velvety texture we all crave.”
Mastering the Water Bath Technique
Baking the perfect cheesecake water bath is key. It prevents cracks and ensures even baking. This results in a silky texture that’s a delight to eat.
Why Water Bath Matters
The water bath, or bain-marie, creates a humid oven environment. This moist heat gently bakes the cheesecake. It prevents the top from drying out and cracking.
The water also helps regulate the oven’s temperature. This ensures the dessert bakes evenly.
Step-by-Step Water Bath Instructions
- Preheat your oven to 350°F.
- Wrap the outside of your springform pan tightly with heavy-duty aluminum foil, ensuring no water can seep in.
- Place the wrapped springform pan inside a larger roasting pan or baking dish.
- Pour hot water into the larger pan, filling it about halfway up the sides of the springform pan.
- Carefully transfer the water bath setup to the preheated oven and bake your cheesecake as directed in the recipe.
Mastering this crack prevention technique will help you make a stunning cherry cheesecake. It’s sure to wow your guests.
Baking Time and Temperature Guide
To get the perfect texture for your cherry cheesecake, follow these baking tips. These guidelines will help you achieve the best results for your cheesecake.
First, preheat your oven to 325°F (165°C). Bake the cheesecake for about 75 minutes. After baking, turn off the oven and crack the oven door with a wooden spoon.
Let the cheesecake cool down slowly for one hour before taking it out. This slow cooling helps avoid cracks and keeps the top smooth.
The baking time can change based on your cheesecake pan’s size. Smaller pans might need less time, while bigger ones might need a bit more. Always check your cheesecake with a toothpick or cake tester to see if it’s done.
For the best results, use a digital oven thermometer. It ensures your oven stays at the right temperature. This is key for the perfect cheesecake texture.
By following these baking tips, you’ll make a mouthwatering cherry cheesecake that will wow your guests.
Homemade Cherry Topping Preparation
Make your cherry cheesecake even better with a homemade cherry topping. You can use fresh or frozen cherries. This topping is easy to make and adds flavor and texture to your dessert.
Fresh vs. Frozen Cherry Options
For the best taste, use fresh, ripe cherries when they’re in season. But frozen cherries work great too. Just remember to adjust the water based on the cherries’ moisture. Fresh cherries need about 1/3 cup of water, while frozen ones need only 1/4 cup.
Achieving the Perfect Consistency
To get the perfect topping, mix pitted cherries, sugar, cornstarch, and water (or lemon juice) in a saucepan. Heat it until it boils, then lower the heat and simmer for 5-10 minutes. This will thicken the sauce to your liking. You can add more sugar or lemon juice if it’s too sweet.
For a thicker topping, use less water or just cherry juice. You can make the sauce ahead and keep it in the fridge for up to 4 days or freeze it for a month.
The homemade cherry topping is perfect with your homemade cherry sauce. It makes your fruit topping even better. Enjoy this amazing combo on your cherry cheesecake for a decadent treat.
Professional Tips for Crack-Free Results
Making a cheesecake without cracks can seem hard, but it’s doable with the right methods. The key is to stop air bubbles and bake carefully. Here are some expert tips for a smooth, crack-free cheesecake every time:
- Don’t overmix the batter. Mix on the lowest speed for just 2 minutes to avoid too much air.
- Tap the pan on the counter a few times after adding the batter. This helps get rid of big air bubbles.
- Don’t open the oven door while baking. Opening it can cause the cheesecake to crack.
- Let the cheesecake cool slowly in the oven with the door a bit open for an hour. This helps avoid cracks.
- Cover the cheesecake loosely while it cools at room temperature. This stops drips that can cause cracks.
By using these professional tips, you can get a smooth cheesecake surface and prevent cheesecake cracks. This will make your baking better and impress your guests with a perfect dessert.
“The secret to a perfect cheesecake is all in the preparation and baking technique. With a little attention to detail, you can achieve that coveted crack-free, silky-smooth texture every time.”
Proper Cooling and Storage Methods
After baking your cherry cheesecake, it’s important to cool and store it right. This keeps it fresh and tasty for days. Using the right fridge and freezer methods can make your cheesecake last longer.
Refrigeration Guidelines
Let your cheesecake cool down to room temperature first. The USDA says to chill it for at least 4 hours, or better yet, overnight. This makes the cheesecake smooth and creamy.
Kept in the fridge, your cheesecake stays good for up to 3 days.
Freezing and Thawing Instructions
- Freeze your cheesecake for up to a month without the cherry topping. Use plastic wrap or aluminum foil to keep it from getting freezer burn.
- Thaw it in the fridge overnight when you’re ready to eat it. This slow thaw keeps the texture right and prevents water spots.
- The cherry topping is best made fresh or stored separately. It can get watery when frozen and thawed.
By following these easy cheesecake storage and refrigeration tips, your homemade cherry cheesecake will stay delicious. And remember, freeze cheesecake for even longer storage if you need to.
Serving Suggestions and Presentation Tips
When serving your cherry cheesecake, pay close attention to detail. Use a long, thin knife dipped in hot water and wiped dry between cuts. This method gives you smooth, even slices without rough edges.
To keep your cheesecake chilled and creamy, add the cherry topping just before serving. Or, offer it on the side so guests can add as much as they like. Make sure the topping is at room temperature to prevent it from melting the cheesecake.
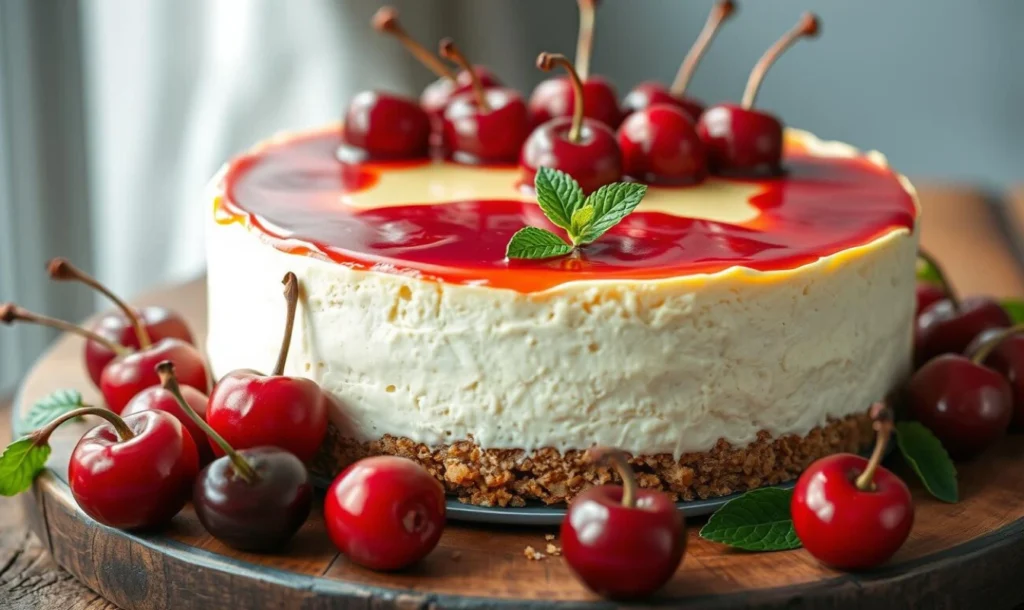
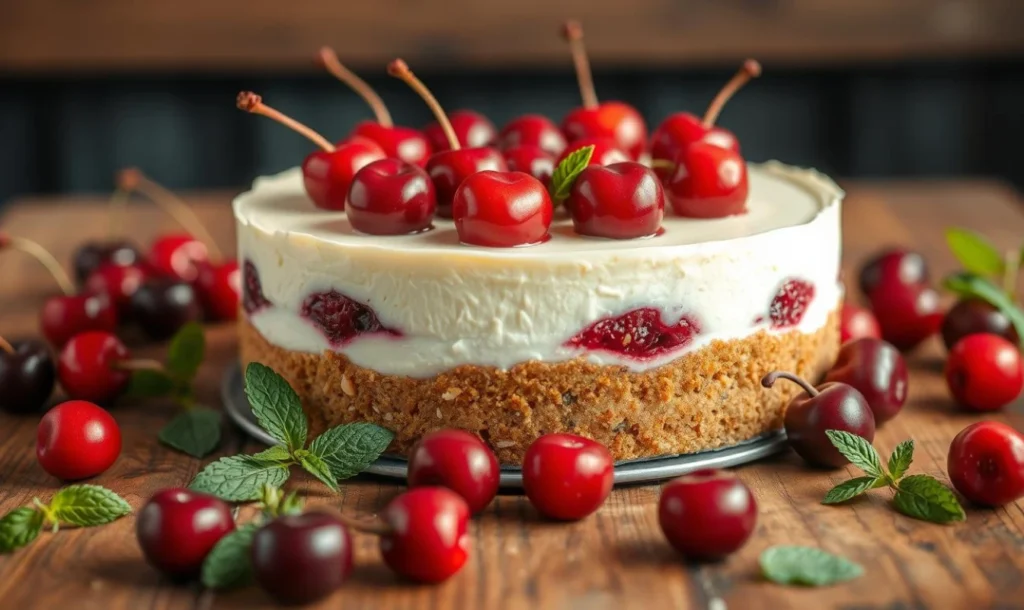
For a touch of elegance, top your cheesecake with fresh cherries or homemade whipped cream. These simple touches will impress your guests and make your dessert plating stand out.
“The presentation of a dessert is just as important as the flavor. A beautifully plated cheesecake can truly elevate the entire dining experience.”
The way you serve cheesecake makes a big difference. With a few thoughtful touches, your cherry cheesecake can become the highlight of any meal.
Troubleshooting Common Cheesecake Issues
Baking a perfect cheesecake is a delicate task. But don’t worry, we’ve got you covered. If you face any cheesecake problems, these tips will help you fix cheesecake issues and steer clear of baking mistakes.
Cracks in the cheesecake are common but fixable. Use homemade cherry topping to cover any cracks. This turns them into a beautiful design element.
If your cheesecake is overcooked, don’t worry. Top it with extra topping or whipped cream to hide the problem. For an undercooked cheesecake, bake it a bit longer until it’s just right.
A watery cheesecake texture usually comes from not using a water bath or cooling it wrong. Follow the water bath and cooling instructions to get that smooth texture every time.
“Cheesecake is a delicate dessert, but with the right troubleshooting tips, you can master it and impress your guests.” – Catherine Ward, Taste of Home Prep Kitchen Manager
Baking is an art, and every cheesecake problem has a solution. By knowing how to fix cheesecake issues and avoiding common baking mistakes, you’ll make cheesecakes that wow everyone.
Conclusion
This best cherry cheesecake recipe is a true masterpiece. It combines a silky-smooth texture with a delightful balance of sweet and tart flavors. It’s perfect for any special occasion or when you just want a homemade dessert.
Creating a professional-quality cherry cheesecake is easy with this recipe. You’ll get a perfect graham cracker crust, creamy cheesecake filling, and homemade cherry topping. Each part is carefully crafted for a delightful dining experience.
Success comes from following the recipe closely and mastering the water bath technique. Make sure to cool and store it properly. This way, you’ll bake a cherry cheesecake that everyone will love. Enjoy every creamy, cherry-infused bite!
FAQ
What makes this cherry cheesecake recipe so special?
This cherry cheesecake is special because it balances sweet and tart flavors. The cherry topping adds a tangy taste. The cheesecake itself is soft and creamy, unlike stiff ones.
What are the key ingredients in this recipe?
The main ingredients are cream cheese, graham crackers, sugar, and butter. Sour cream, eggs, and vanilla extract are also key. For the crust, use graham cracker crumbs. The cherry topping needs cherries, sugar, cornstarch, water, and lemon juice.
How do I make the perfect graham cracker crust?
Mix graham cracker crumbs, melted butter, sugar, and salt until it’s like wet sand. Press it into a springform pan lined with foil. Bake at 350°F for 8 to 10 minutes before adding the filling.
What is the purpose of the water bath technique?
A water bath prevents cracks and ensures even baking. Place the pan in a larger roasting pan with hot water halfway up. This keeps the cheesecake moist and prevents it from cracking. Make sure the pan is wrapped in foil to keep water out.
How do I prevent cracks in the cheesecake?
To avoid cracks, mix the batter slowly and don’t overdo it. Use the lowest speed for 2 minutes and tap the pan to release air. Don’t open the oven door during baking. Let it rest in the oven for an hour after baking. Cover it loosely when cooling to prevent drips.
How do I make the homemade cherry topping?
For the cherry topping, mix cherries, sugar, cornstarch, water, and lemon juice in a pot. Bring to a boil and adjust sweetness as needed. For frozen cherries, use less water. Cook until thickened, then cool before topping the cheesecake.
How do I properly store and serve the cherry cheesecake?
Cool the cheesecake to room temperature, then refrigerate for at least 4 hours or overnight. Store in the fridge for up to 3 days. Freeze for up to 1 month without the topping. Thaw in the fridge before serving. Use a hot knife to cut clean slices. Add the cherry topping just before serving or serve it on the side.

